Showing posts with label Baking. Show all posts

Thursday, June 22, 2017

Healthy Summer Snacking


Being a  mom of four boys, all nine and under with one of them still nursing, it seems like I am going non-stop. I mean NON-stop. We always have somewhere to be, something to do, someone to see, something to clean up or something to look forward to. Busyness is a constant in our lives and it's taken me a while but, I'm finally figuring out how to just go with it. Another perk (??) of being a  mom of four littles (and that I'm still nursing) is being hungry pretty much twenty-four/seven. With all of that rushing around, calories get burned and energy starts to be lacking. That's why I'm always on the lookout for quick, easy, healthy snack alternatives. Not just for my boys though, for me too! Because, if I'm being honest, my boys don't have a regular snack time. On days that we don't have a lot going on and they're just playing inside and being pretty low-key, they typically don't ask for a snack. They're usually so caught up in their imaginative play that they don't even realize how quickly the time passes and, before they know it, it's meal time again. Me, on the other hand, I have to eat every three to four hours. I'm talking, HAVE to. If I don't, scary things happen. LOL Seriously though, since becoming pregnant with my first baby and learning all about the benefits of drinking tons of water and eating small amounts of healthy food at regular intervals, I am allllllways thirsty and hungry. I need that extra boost of protein in the middle of my day (and morning and before bed at night) to keep me going, I just do. Add in a good, calorie blasting workout to my morning and I'm ravenous by lunch time. No, really, ask my kids..

With all of that being said, I thought I'd share a recipe I was recently introduced to by a friend via Pinterest and have not stopped making since. It's THAT good. And quick! It's called Peanut Butter Energy Bites and you can find the recipe from Chef Savvy here. They're made up of five easy ingredients you probably have in your pantry anyway and only take about thirty minutes from start to finish.

The first time I attempted these protein bites (late last week), I made one batch according to the recipe, substituting chai seeds for flax because that's what I had on hand. I actually ran the half cup of seeds through my food processor before adding them to the other ingredients thinking it would give them more of a "ground" consistency. Totally not the case and, turns out, completely unnecessary. None of my family minded the taste and crunchiness of the seeds one bit. So, the second time making them (ahem..this afternoon), I left them whole. And made a double batch because, yea, they're that good. The instructions also say that you get twelve protein bites out of one recipe. I got around 25 the first time I made them and closer to fifty this time around. I made the balls smaller when I rolled them and they turned out to be the perfect size to grab a couple at a time, for Glen and I, and give to the boys for a snack as well. I also discovered that I like the taste of them a smidge better after they've been refrigerated a bit. They're still sooooo good, don't get me wrong but, fresh out of the fridge? Yum.

These also make a great on-the-go breakfast or late night snack. I've actually had them in place of my nightly bowl of ice cream which is saying a LOT. If you know me at all, you know that mama likes her ice cream. And, I'm hard pressed to keep right along with that habit. Haha. But, I  have to admit, these fill that void nicely when I'm feeling the need to be a tad healthier some days. (Which isn't very often..ha) None the less, give them a try and you never know, you may love them! Also, can you tell the boys were excited for me to make them today?! ;)


I used natural peanut butter, organic honey we purchase locally and tried to consistently fill a large spoon when scooping them to roll. That way I could keep the size more uniform. I hope all of these tips help you make a yummy treat of your own and please, share any healthy snack/meal recipes you have with me in the comments! I'm also excited to try another recipe I found for a chocolate version and one to make your own chewy granola bars! Bring on summa!! 

Wednesday, September 30, 2015

Falling in Love : A Wedding Shower

My brother in law, who was only fourteen when Glen and I were married (okay, now I feel old), is engaged to the sweetest girl and they will be tying the knot this coming November! We are so super excited for them and wanted to do something special to celebrate but, also help them get lots of good stuff for their new home. So, my sister-in-law, mother-in-law and I got together, spent a lot of time on Pinterest, and threw them this fun, fall themed wedding shower!


We were thrilled with how all the details came together to make such a great and cozy atmosphere while keeping with the elegance of the occasion. We were going for classic, colorful, rustic and timeless. Something that wasn't over the top but definitely not too simple either. I think we hit the nail right on the head! I made the cake and, while it didn't turn out exactly like the one I pinned (does anything ever really?), I was so pleased with the final result. My sweet hubby spent a lot of time cutting the perfect log for us to use as our cake stand and it went so well with the simple frosting and decorative leaves. 


We put together some really pretty floral arrangements to sit around and they really added some nice color where there wasn't otherwise. The pumpkin arrangements were my favorite and I now have one sitting on my sofa table so, yay for repurposeing! I also really loved the initial pumpkins, although they were one of the most time consuming of my projects. They added the perfect touch to the food table with all of the nice, fall themed goodies.


The cake was two tiered, the top being spice cake and the bottom, butter recipe yellow, all with homemade buttercream frosting. So touchy to make but so good! We also had pumpkin cookies (a family recipe), candy corn mixed with roasted nuts (who knew it tastes just like a payday candy bar?), apple slices with caramel dip, ice water and, of course, apple cider.


We wanted something fun and memorable, while widely enjoyable for favors so we went with a fun box of take-away s'mores! One of my favorite details of all! They were a little involved to put together but oh so worth the cuteness they added to the recipe box table. We found this great one on Amazon and it will be the perfect addition to Danae's new kitchen (and it just may make my Christmas list this year!). I made and printed some simple little recipe cards to store inside and all of the guests brought one of their favorite recipes to help fill it up.


We put up fall leaves, decoration and themed prints everywhere along with a few chalkboards because that is so cute and very in right now. And we planned a couple of fun games that both went over really well. One was called "Disney Love Songs" and the other was "Help the Bride-to-be write her vows". Both were lots of fun and the vow game definitely earned more than a few laughs from the guests and hosts alike. 


Like I mentioned before, many of our ideas were found on Pinterest and are saved to this board in particular if you'd like any specifics or resources. This was such a fun event and our family is so thrilled to be welcoming Danae! Congratulations you two!!

Friday, July 10, 2015

Baking Happiness

A few years ago, I found the most perfect recipe for chocolate chip muffins. I stored it on my computer and made it much too often. They were delicious! Then, with the great computer crash of 2014, I lost all the recipes I had saved. They couldn't be recovered and, with them, I lost all hope of finding another chocolate chip muffin recipe I'd love. After perusing pinterest and adding a few to my food board, I finally decided to look through them. Maybe one of these recipes could come at least slightly close to being as amazing as those muffins were. Maybe.

Well friends, I've found a close second. These super scrumptious muffins are crispy on the top, soft and moist on the inside and don't take a ton of work to put together. They are yummy! Plus, they get nice and tall. Just like a bakery style muffin (hence the name if you follow the pinterest link). I followed the exact recipe but I think you could easily substitute half of the all-purpose flour for wheat flour to make it a little more healthy and just a tad more tasty (I love the taste of wheat flour!)! Give it a try and let me know what you think!


INGREDIENTS

2 & 1/2 cups all-purpose flour (could easily substitute 1 & 1/4 cup for wheat flour)
1 tbsp baking powder
1 tsp baking soda
1/2 tsp salt
1/2 cup unsalted butter, melted and cooled
1 cup granulated sugar
2 large eggs
1 cup milk (I used 2% without any problems)
1 tbsp vanilla
1 & 1/2 cups chocolate chips (I used mini morsels)


INSTRUCTIONS

1. Preheat oven to 425 degrees F and spray a 12 cup muffin tray with non-stick cooking spray.

2. In a large bowl, toss together the flour, baking powder, baking soda, salt and chocolate chips. Set aside.


3. In a medium bowl, whisk together the melted butter, sugar, eggs, milk and vanilla. Slowly add to the dry ingredients. Gently fold together until JUST combined.


4. Divide the batter into the 12 muffin cups and bake at 425 degrees F for 5 minutes, then turn the oven heat down to 375 degrees F and bake for another 13-15 minutes. Let cool for about 5-10 minutes and enjoy warm.


NOTE : Muffins taste best the day of, but can be stored in an airtight container at room temperature for up to 5 days. (Also, using a toaster oven to reheat makes them super yummy in the days after!)

Friday, March 13, 2015

Sweet Tooth Delight

I promise this will not be purely a food blog. Really. But, food is good. So, in hopes to get you inspired to try a few new things (everything in moderation folks!), I will be sharing some fun recipes now and then!

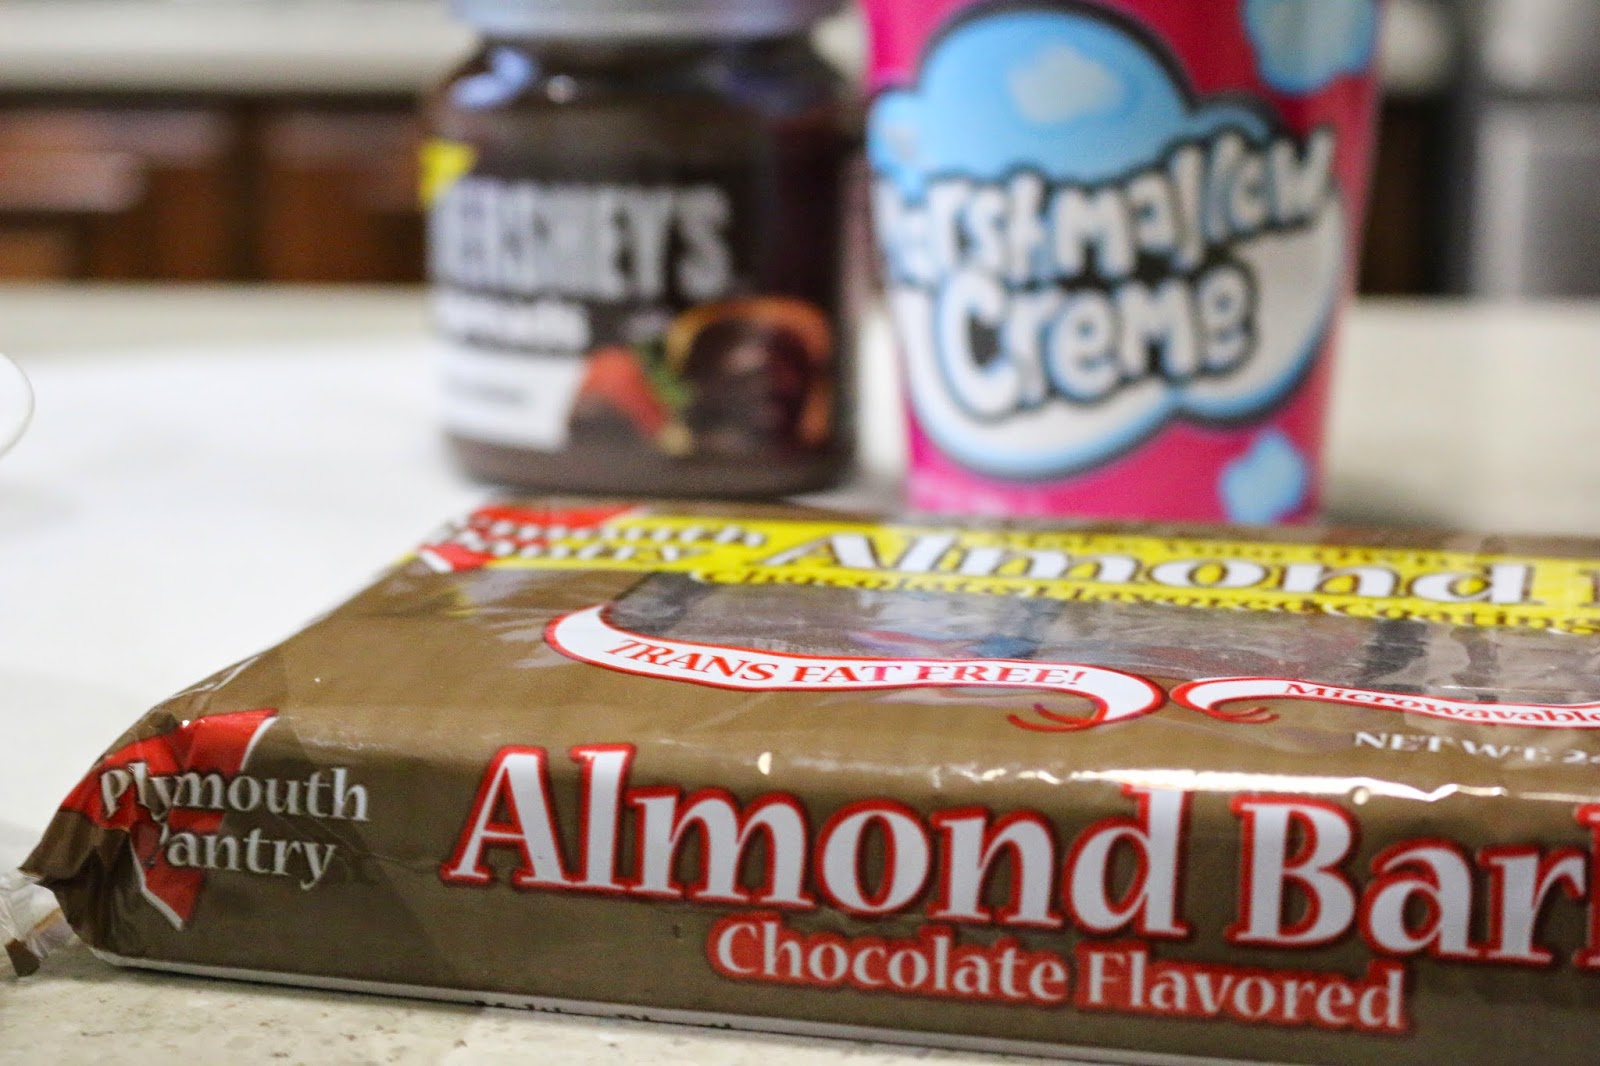
A few days ago I posted a photo to instagram of some delicious chocolatey goodiness. Well, the mystery treat went over super well so, it's time to share! Another result of pinning lately, when I found this recipe I knew I'd have to make it some day. I give you the three ingredient 3 Musketeer Bar! You can find the pin and original recipe here. I followed it exactly but, after taste testing decided that if I ever make them again (and that is only a matter of time my friends) that I would make a few slight changes. The original recipe called to coat the bottom of the pan with the melted chocolate before spreading the marshmallow mixture on top of it. In my experience, that made for a much too thick bottom to the candy bar. I would first mix together the marshmallow creme and hershey spread. Then, once it's set up, cut and dip all six sides in the melted chocolate coating. All in all, a super easy and really yummy treat! Mind you, these are not an every day desert. They are much too rich for that! But, for something special, they were perfect.


(I've modified a few of the ingredient amounts and instructions slightly to make them come out better and more like the real candy bar)

Ingredients :

  • 1 jar marshmallow fluff (7 oz)
  • 2/3 cups chocolate spread (í used Hershey's, you can also use Nutella)
  • 6-8 oz chocolate candy coatíng (can use chocolate chíps, almond bark, or any of your favoríte meltíng chocolate)

Directions:

  1. ín a microwave-safe bowl, míx together the creme and chocolate spread. Mícrowave for about 30 seconds, stír, and pour evenly into a parchment paper lined pan. (I recommend at least using an 8x8 pan or the silicon pans would be great for this so you don't have to line it with parchment paper). Refrígerate about 20 mínutes or untíl fírm enough to cut.
  2. Remove the candy from the pan and, if need be, peel off the paper. Cut ínto 8 bars for full or king síze candy bars or 16 for fun or mid síze bars.
  3. Melt candy coatíng ín a bowl and díp the tops and sídes of the candy bars untíl completely coated. Let the chocolate set a few minutes to harden and store ín a sealed contaíner.


Enjoy these sweet treats! But, remember, everything in moderation ;-) God bless!!

Friday, March 6, 2015

Breakfast Love

I haven't always been a lover of breakfast. Growing up I tended to steer toward the simple approach. Basically a bowl of cereal and I was good. But, with a hubby that could live off of eggs, I've learned to appreciate all the different kinds of breakfast and it has changed everything. I can no longer do a 'light' breakfast or 'no breakfast'. It is literally the first thing we do when we wake up in the morning. Maybe I've adjusted to the boys or they've adjusted to me but, that's just how it is in our house. Sunday mornings seem to be the one day breakfast is rushed. The only time I may have to survive on a granola bar until after church. We make it work but, by the time we're out of service I am so ready to eat. Like now. Take me to fast food because I cannot make it home and then still have to cook something! LOL.

For the past couple of years (crazy now that I think about it!) breakfast has consisted of a toasted wheat bagel spread with a little nutella (and yes I really do mean a little. It's so sweet!), a couple of eggs scrambled in coconut oil and a glass of milk or orange juice.  And, I know this is so healthy, but if milk is my choice of drink I usually (and by that I mean always) toss in a little Nesquik powder to yummy it up. Yea, anyway.

Recently I've taken to pinning again. I took a hiatus it seems. But, I've found some really great looking recipes and finally decided to give one a try. It's for Blueberry Greek Yogurt Muffins and you can find the pin here. Let me just say, blueberries have never been at the top of my favorite berry list. But, these muffins, perfection! They are so soft and moist right out of the oven and a big hit the second day as well. The boys gobbled them up this morning!


Blueberry Greek Yogurt Muffins (I made a few adjustments from the originally pinned recipe) :

Ingredients :

  1. 2 cups whole wheat flour
  2. 1 cup white sugar
  3. 1/2 tsp salt
  4. 2 tsp. baking powder
  5. 1/3 cup applesauce
  6. 2 eggs
  7. 1 Yoplait Greek Yogurt container 7 oz
  8. 1 1/2 - 2 cups fresh or frozen blueberries

Instructions:

  1. Preheat oven to 400 degrees.
  2. Mix together flour, sugar, salt and baking powder.
  3. In a separate bowl, whisk together applesauce, eggs and greek yogurt. Slowly add the wet ingredients to dry ingredients.
  4. Mix just until combined.
  5. Fold in blueberries.
  6. Fill muffin tins to the top and Bake for 15-20 minutes or until center is done.

*The batter will seem a bit dry when you first mix it all together. Just keep stirring and it will eventually come together.

We worked really hard cleaning house and doing schoolwork yesterday so we could take today to be lazy. And these yummy muffins were the perfect start to a day full of possibility! God bless!!