
Pieces like a neutral throw, a cozy rug, that perfect piece of framed art, a stylish lamp and throw pillows with a clean, modern design. I want our home to be inviting, friendly, cozy and inspiring while still being suitable for real life. When I find pillows I love though, they usually come with a price tag I just can't seem to stomach. Ugh. That's when I turn to my love of sewing. Something as easy as a simple pillow can be completed in no time at all and is lots of fun to put together. Especially when you have a few different steps like I had with these.
First, I found some inspiration online for what I wanted them to look like. Then, after purchasing some solid white fabric and a couple of inserts, all I had to do was grab a paintbrush and begin.
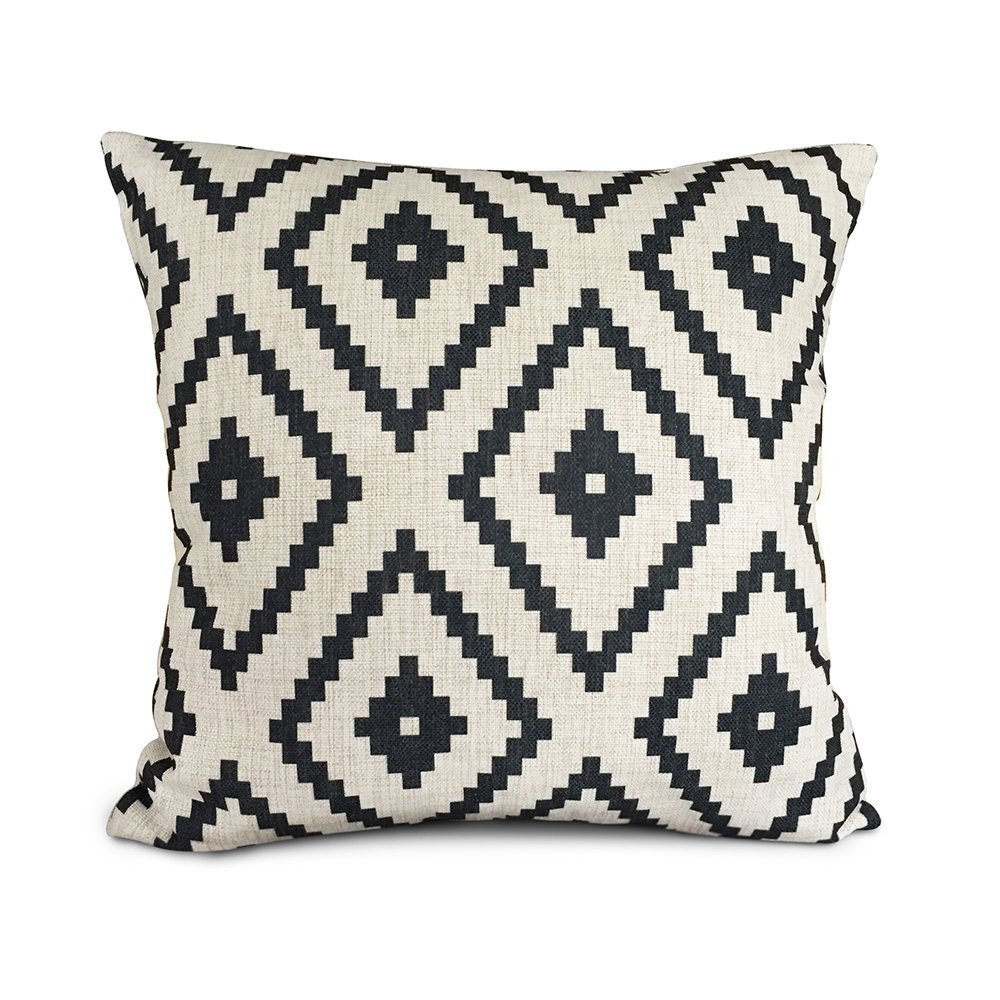


My first step for this DIY was making a pattern to go off of for the design on the front of the pillows. I simply took a piece of printer paper, marked the center of the top, bottom and sides and cut it into a diamond shape. I then measured out a slightly smaller diamond in the center of the page. So I had a pattern like this to work with.


I got a big piece of cardboard, my two plain white fabric pieces, a brush and fabric paint and set to work. I put my pattern underneath the fabric and made brush strokes up and down to give it a "fur" look. After going all the way around both diamonds in my pattern, I moved my piece around until I had covered the entire area with offsetting diamonds.


I love how they fit into our living room and am already feeling closer to getting it completely finished (it's only taken two years lol). How do you keep your home looking fresh, especially after putting away holiday decor?
|| Living Room Details ||
Other Throw Pillows :


Similar Throw Blankets :


Similar Couches :

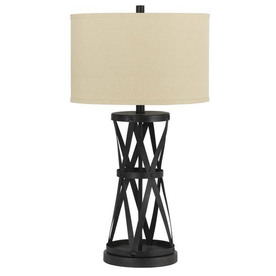
Similar lamps :

No comments:
Post a Comment